Deployment workflow
Here we show how to deploy a production-ready indexer ("squid") to SQD Cloud. See Development flow and the rest of the Indexing SDK section for more info on how to develop one of these.
Pre-requisites: Docker, Squid CLI
1. Prepare the squid for deployment
Make sure that the squid is ready for deployment. This includes:
- Verifying that the squid is working as expected locally.
- Ensuring that the squid is free of any major performance issues. See Best practices for guidance.
- Updating the
squid.yamlfile (a.k.a. "deployment manifest") with the correct values for your use case. - Setting up SQD Cloud secrets if necessary.
2. Register a SQD account
You can register a SQD account by visiting the SQD cloud. Click Create an account and fill in the required information, or sign in with your GitHub or Google account.
3. Create a professional organization
Once you're logged in, create a new organization and upgrade it to professional by attaching a valid credit card in the "Billing" tab.
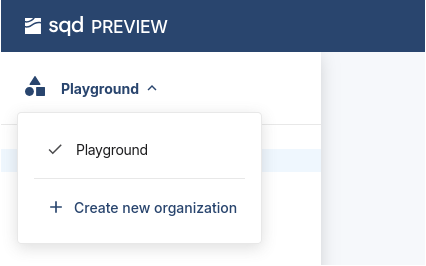
You can skip this step, but then you will only be able to deploy to your account's playground. Playground squids are a trial / development solution with limited functionality; they are not suitable for use in production.
4. Edit the squid.yaml file
4.1. Basic configuration
First, set squid name, description, and other metadata in the header section of the squid.yaml file.
If necessary, configure your build options next. If the defaults - NodeJS v20 and npm for package manager - work for you, just create an empty build section.
Finally, edit the deploy section to specify the deployment options.
The resulting configuration file may look like this:
manifest_version: subsquid.io/v0.1
name: sample-squid

build:

deploy:
  processor:
    cmd: ["sqd", "process:prod"]
  api:
    cmd: ["sqd", "serve:prod"]
Note that the processor and api commands are commands.json-based. This is optional.
4.2. Using addons
SQD Cloud addons enable extra services for your squid. Enable them in the deploy.addons section.
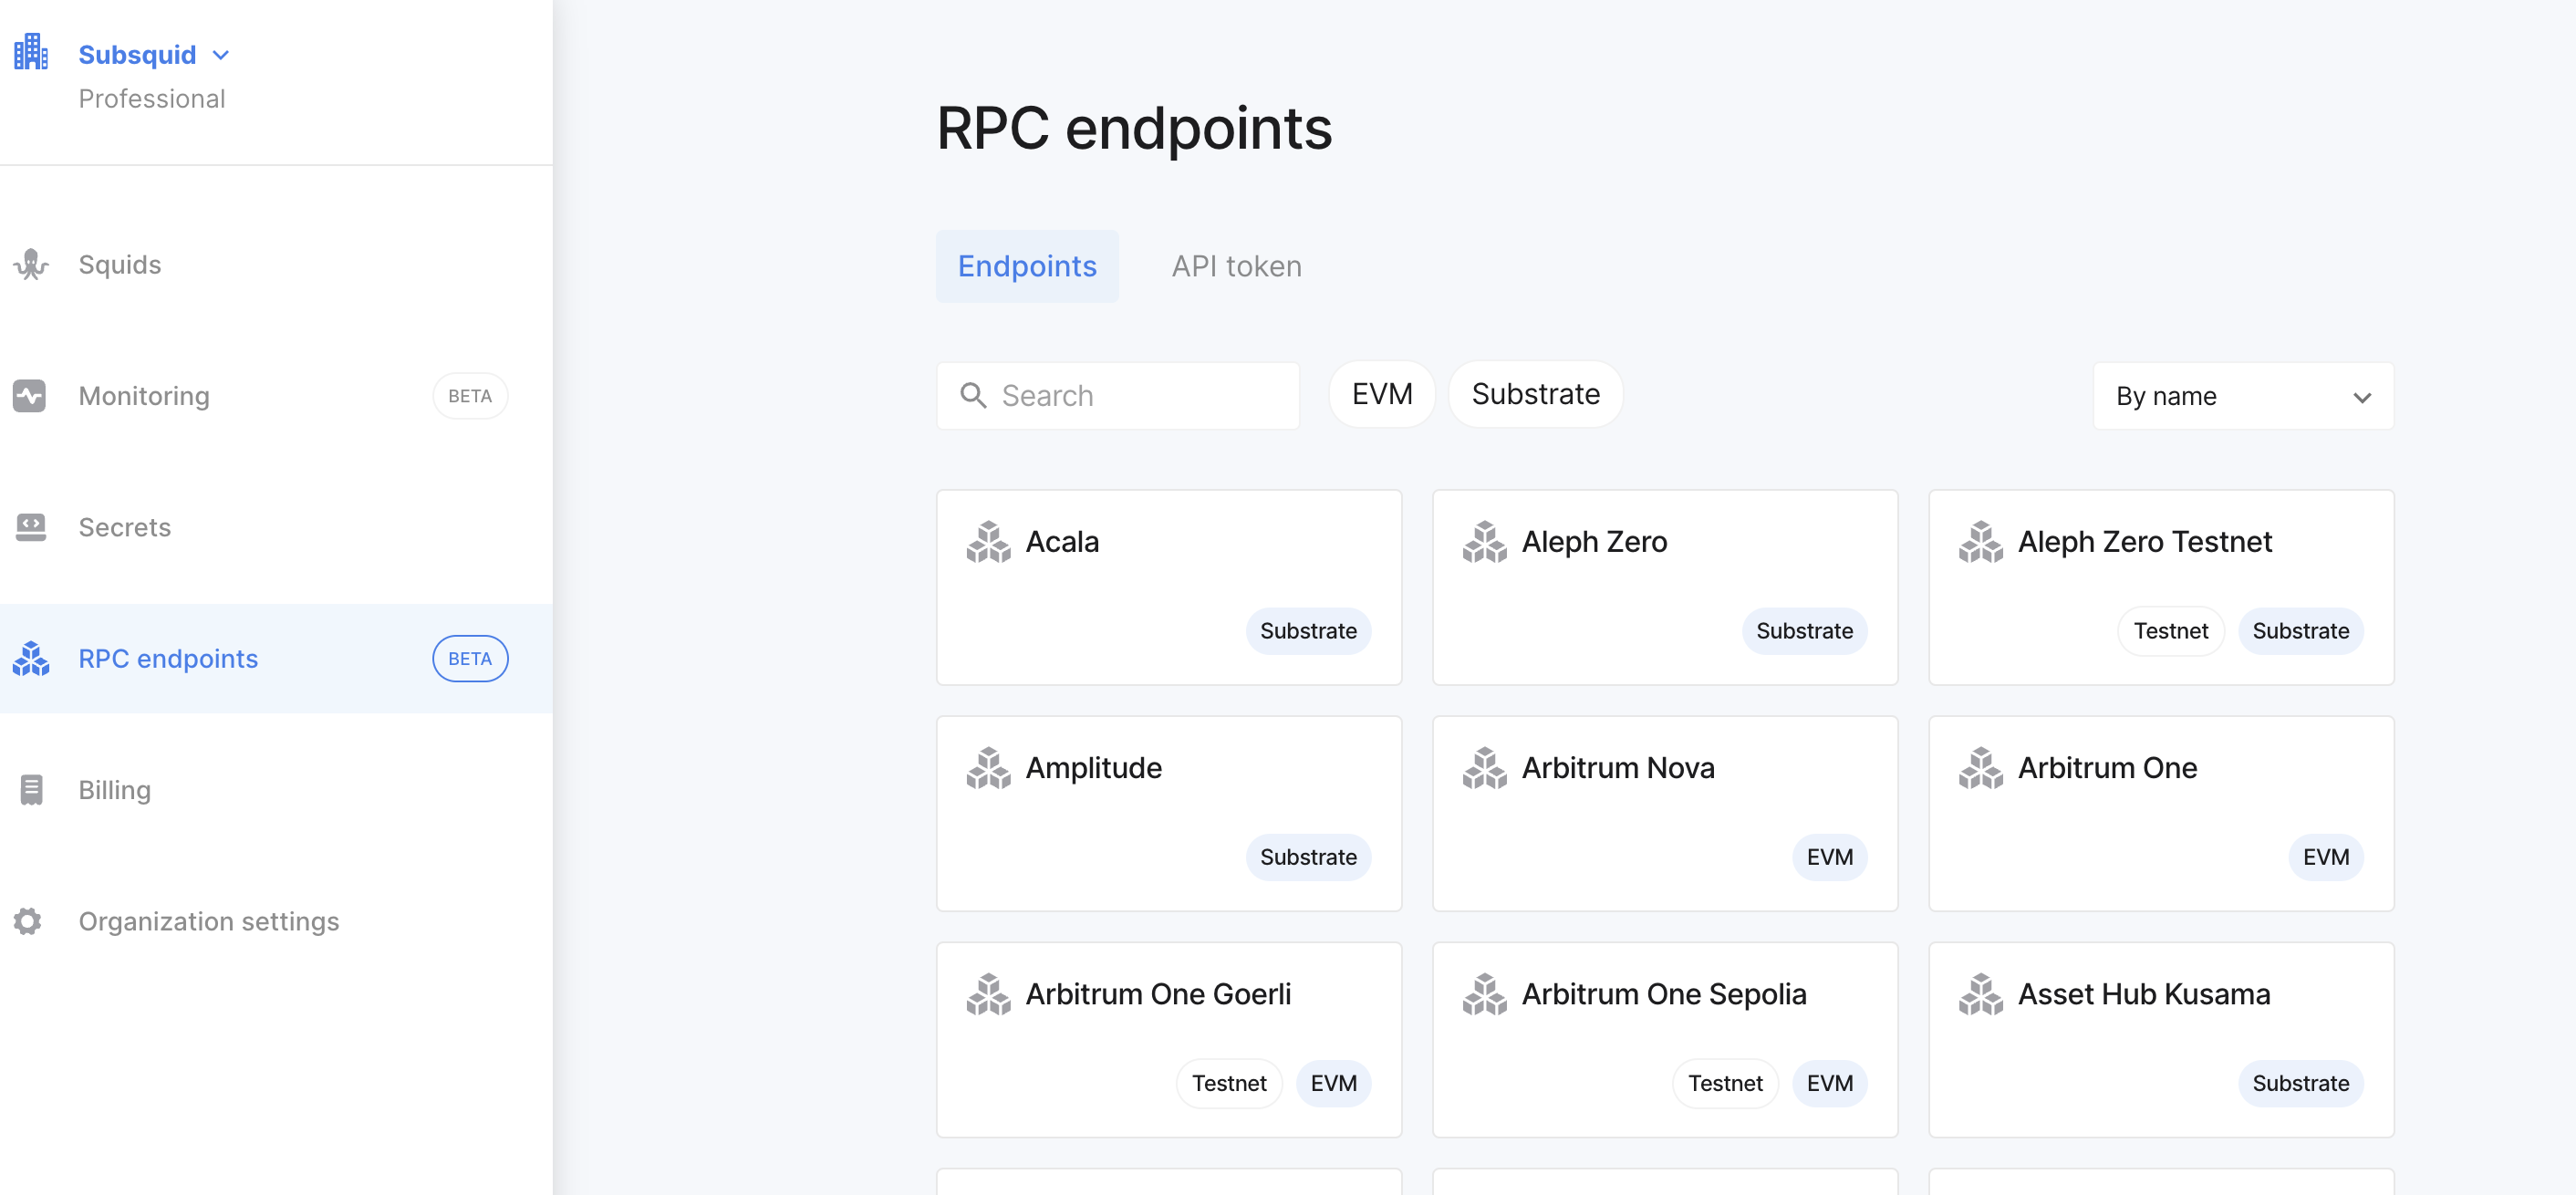
rpc addon
For real time data you can use the rpc addon. First, open the RPC endpoints tab in the SQD cloud sidebar and copy the URL of the chosen endpoint.
Add it to the .env file:
RPC_ARBITRUM_ONE_HTTP=<endpoint-url>
This allows using the Cloud RPC in local runs. To make the same endpoint available in Cloud, enable the addon in the addons section:
deploy:
  addons:
    rpc:
      - arbitrum-one.http
To use this endpoint in your squid, set the RPC endpoint like so in src/main.ts:
import { assertNotNull } from '@subsquid/util-internal'

export const processor = new EvmBatchProcessor().setRpcEndpoint(
  assertNotNull(
    process.env.RPC_ARBITRUM_ONE_HTTP,
    'Required env variable RPC_ARBITRUM_ONE_HTTP is missing'
  )
);
// ...the rest of the processor configuration
This configuration will use the Arbitrum RPC endpoint provided by SQD.
postgres addon
For squids that write their data to PostgreSQL use the postgres addon:
deploy:
  addons:
    postgres:
You should also configure the scale section for the addon when deploying to production, e.g.:
scale:
  addons:
    postgres:
      storage: 100G
      profile: medium
hasura addon
If your squid uses a dedicated Hasura instance, configure the hasura addon to supply it.
4.3. API scale
Squids come with a GraphQL service out-of-the-box. You can enable or disable the service by adding or removing the deploy.api section of the squid.yaml file. In the scale.api section you can also set the scale and number of replicas.
deploy:
  api:
    cmd: ["sqd", "serve:prod"]
scale:
  api:
    profile: large
    # load-balance three replicas
    replicas: 3
This approach works if you use OpenReader (the default in most current examples) or PostGraphile. If your squid uses a dedicated Hasura instance for its GraphQL needs, consult the hasura addon page.
4.4. Processor scale
Next, set the scale of the indexer processor. See this reference section to learn about your options.
scale:
  processor:
    profile: medium
4.5. Dedicated deployment
Dedicated deployment profile is now the default, so if it isn't explicitly disabled in your manifest you don't need to do anything.
However, if you have a dedicated: false in your scale: section (e.g. because you previously deployed your squid to a playground) you must either erase that or replace it with an explicit
scale:
  dedicated: true
We strongly discourage using collocated squids in production, so be sure to check.
4.6. The resulting squid.yaml
Here is an example of a squid.yaml file with all the options set:
manifest_version: subsquid.io/v0.1
name: sample-squid

build:

deploy:
  addons:
    postgres:
    rpc:
      - arbitrum-one.http
  processor:
    cmd: ["sqd", "process:prod"]
  api:
    cmd: ["sqd", "serve:prod"]

scale:
  addons:
    postgres:
      storage: 100G
      profile: medium
  processor:
    profile: medium
  api:
    profile: large
    # load-balance three replicas
    replicas: 3
For all deployment options, check out the deployment manifest page.
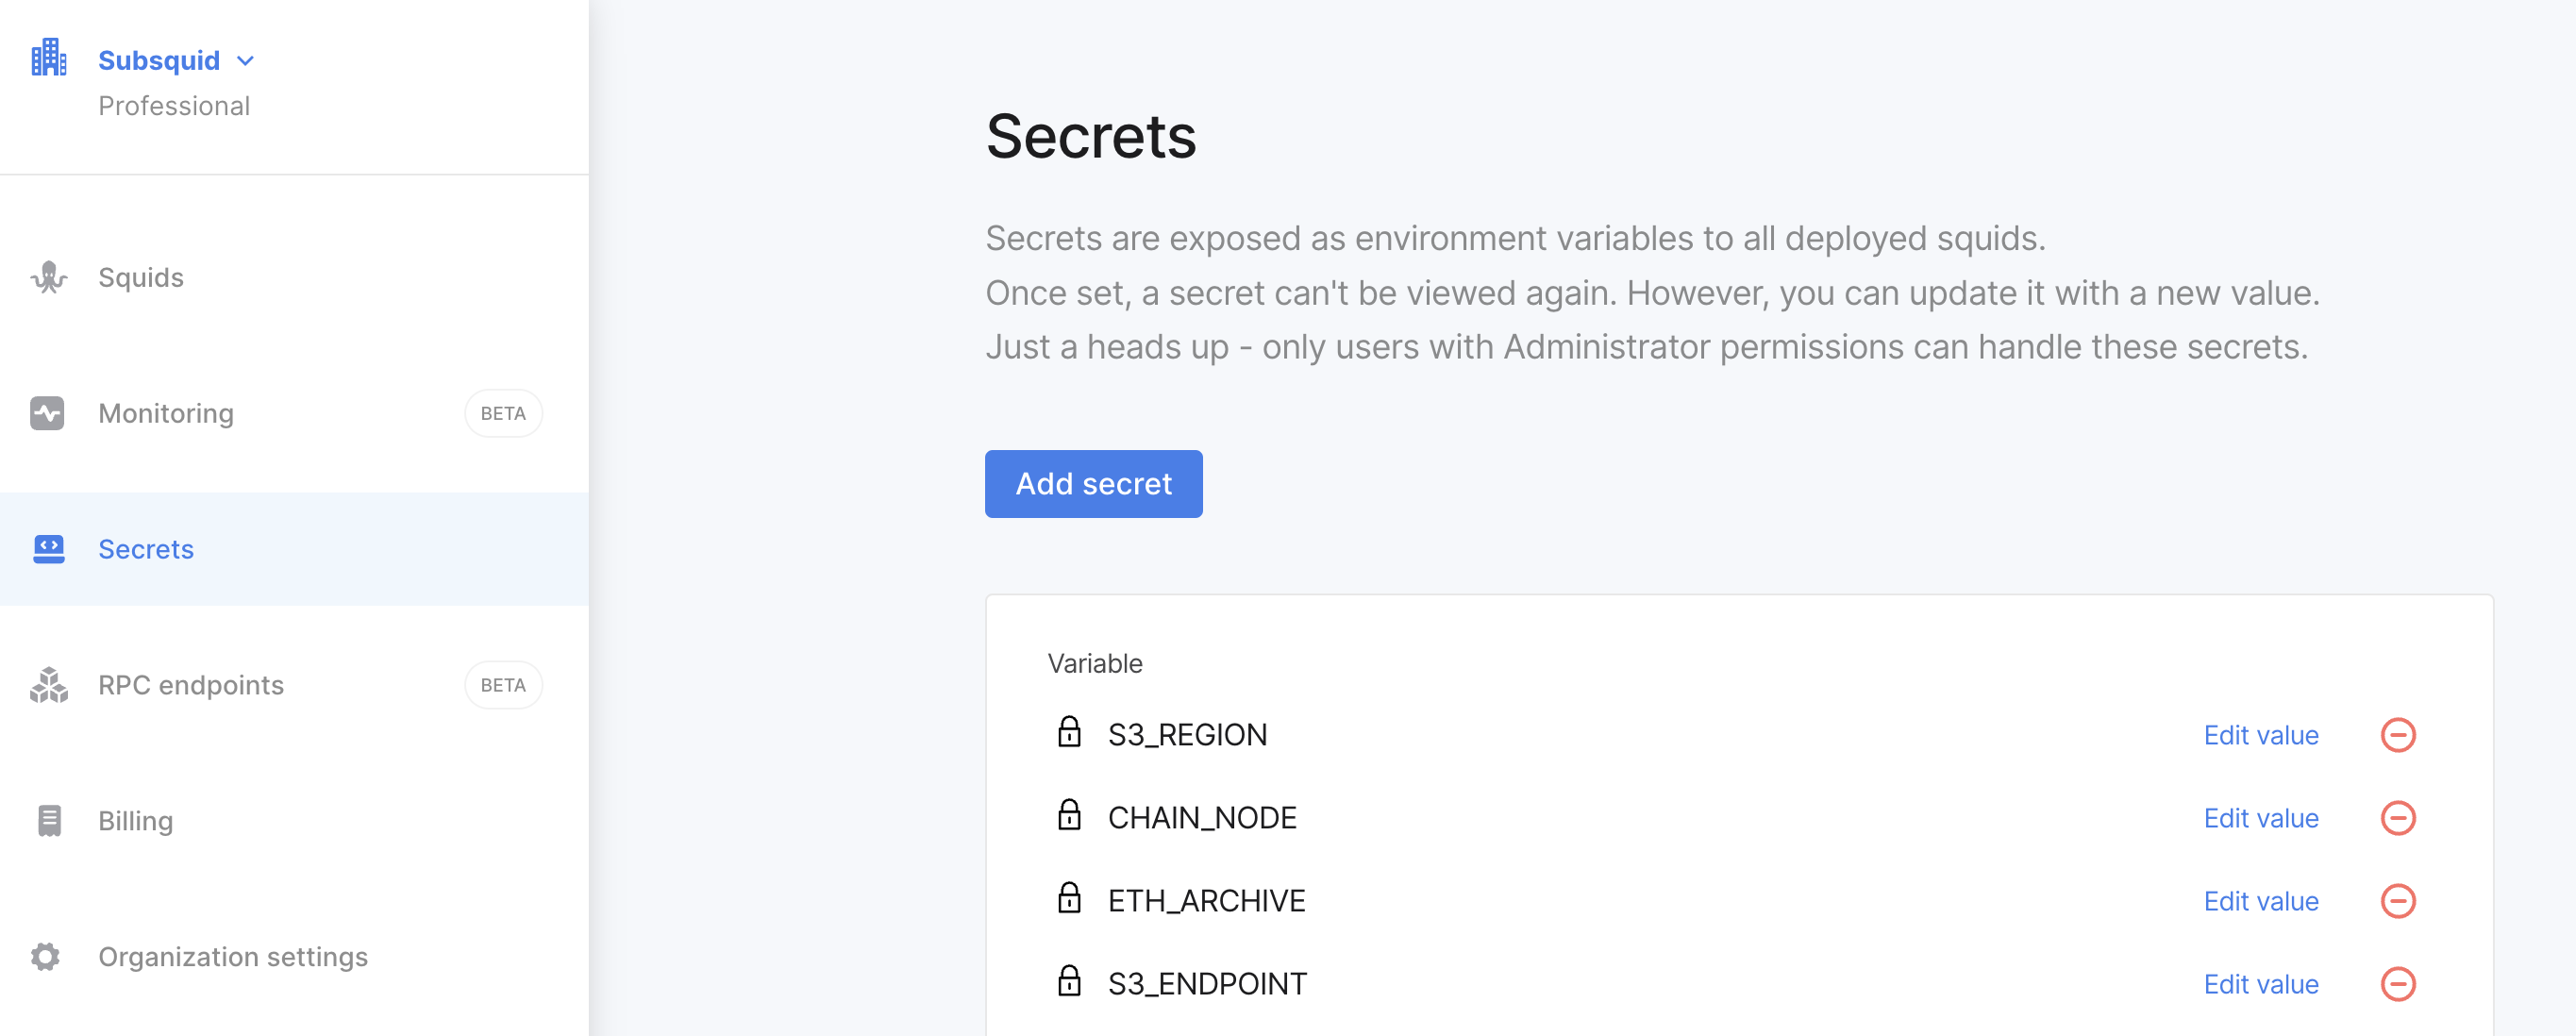
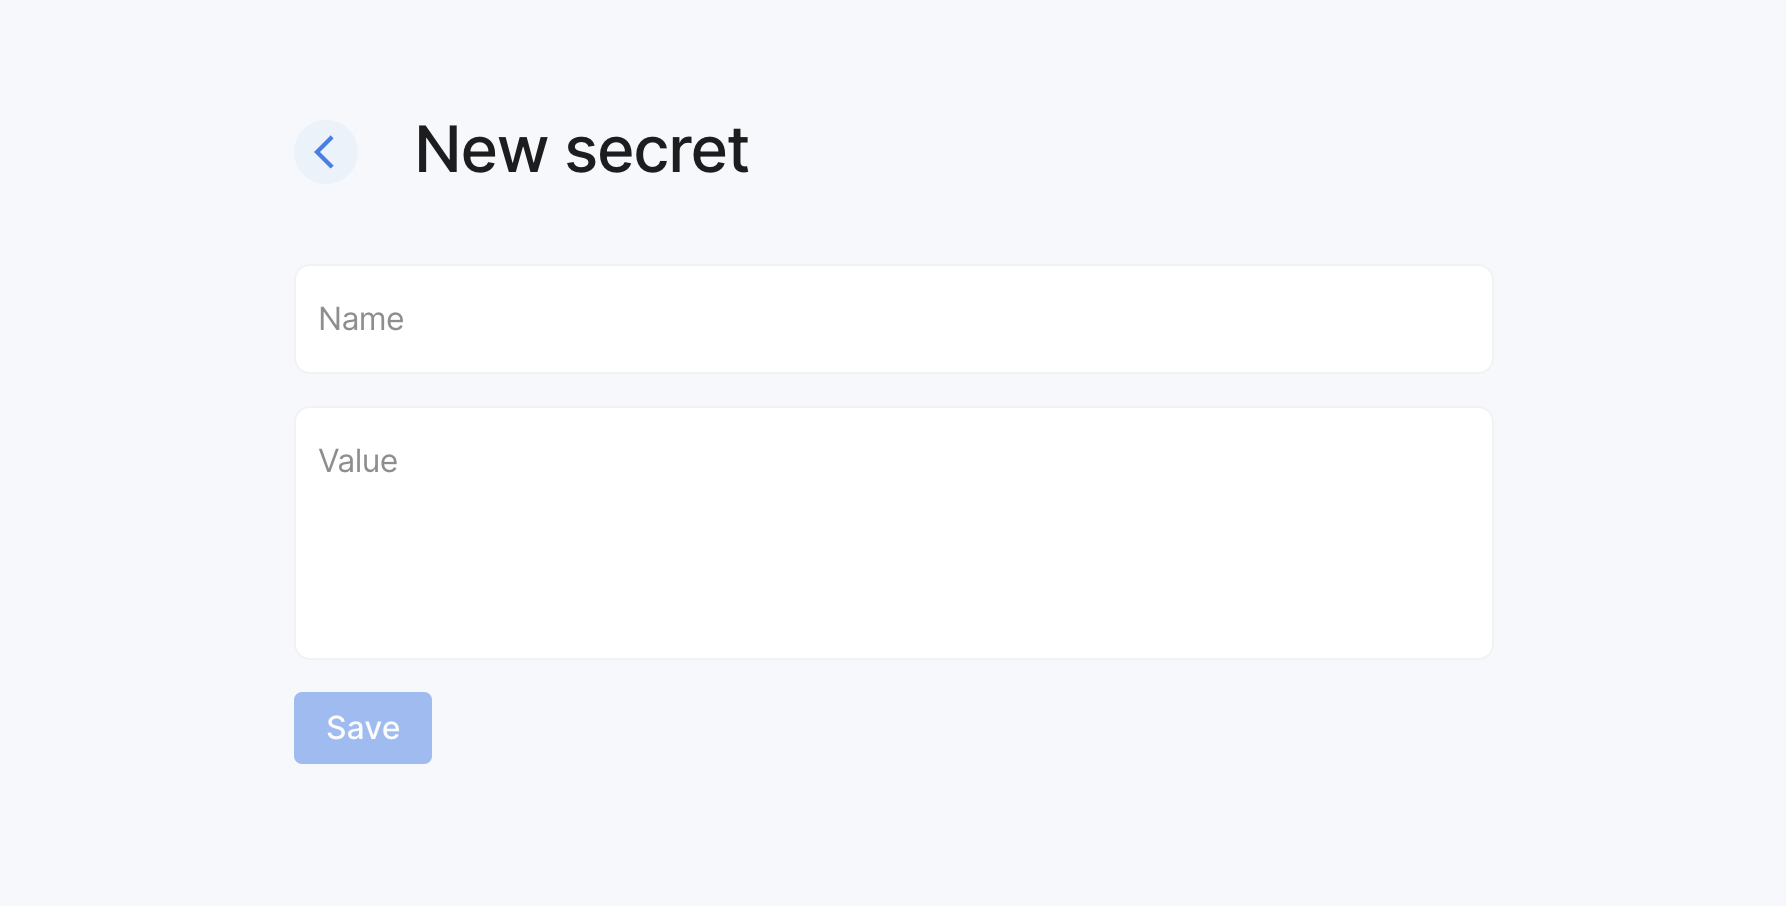
5. Set any required secrets
If your squid uses any sensitive data such as a private URL or an access key, you need to store it in a SQD Cloud secret. You can do this by going to the Secrets tab in the SQD cloud sidebar and adding the required values.
Alternatively, use sqd secrets.
6. Deploy the squid
To deploy the squid to the cloud, open Squids in the sidebar and press the Deploy a squid button in the SQD cloud.
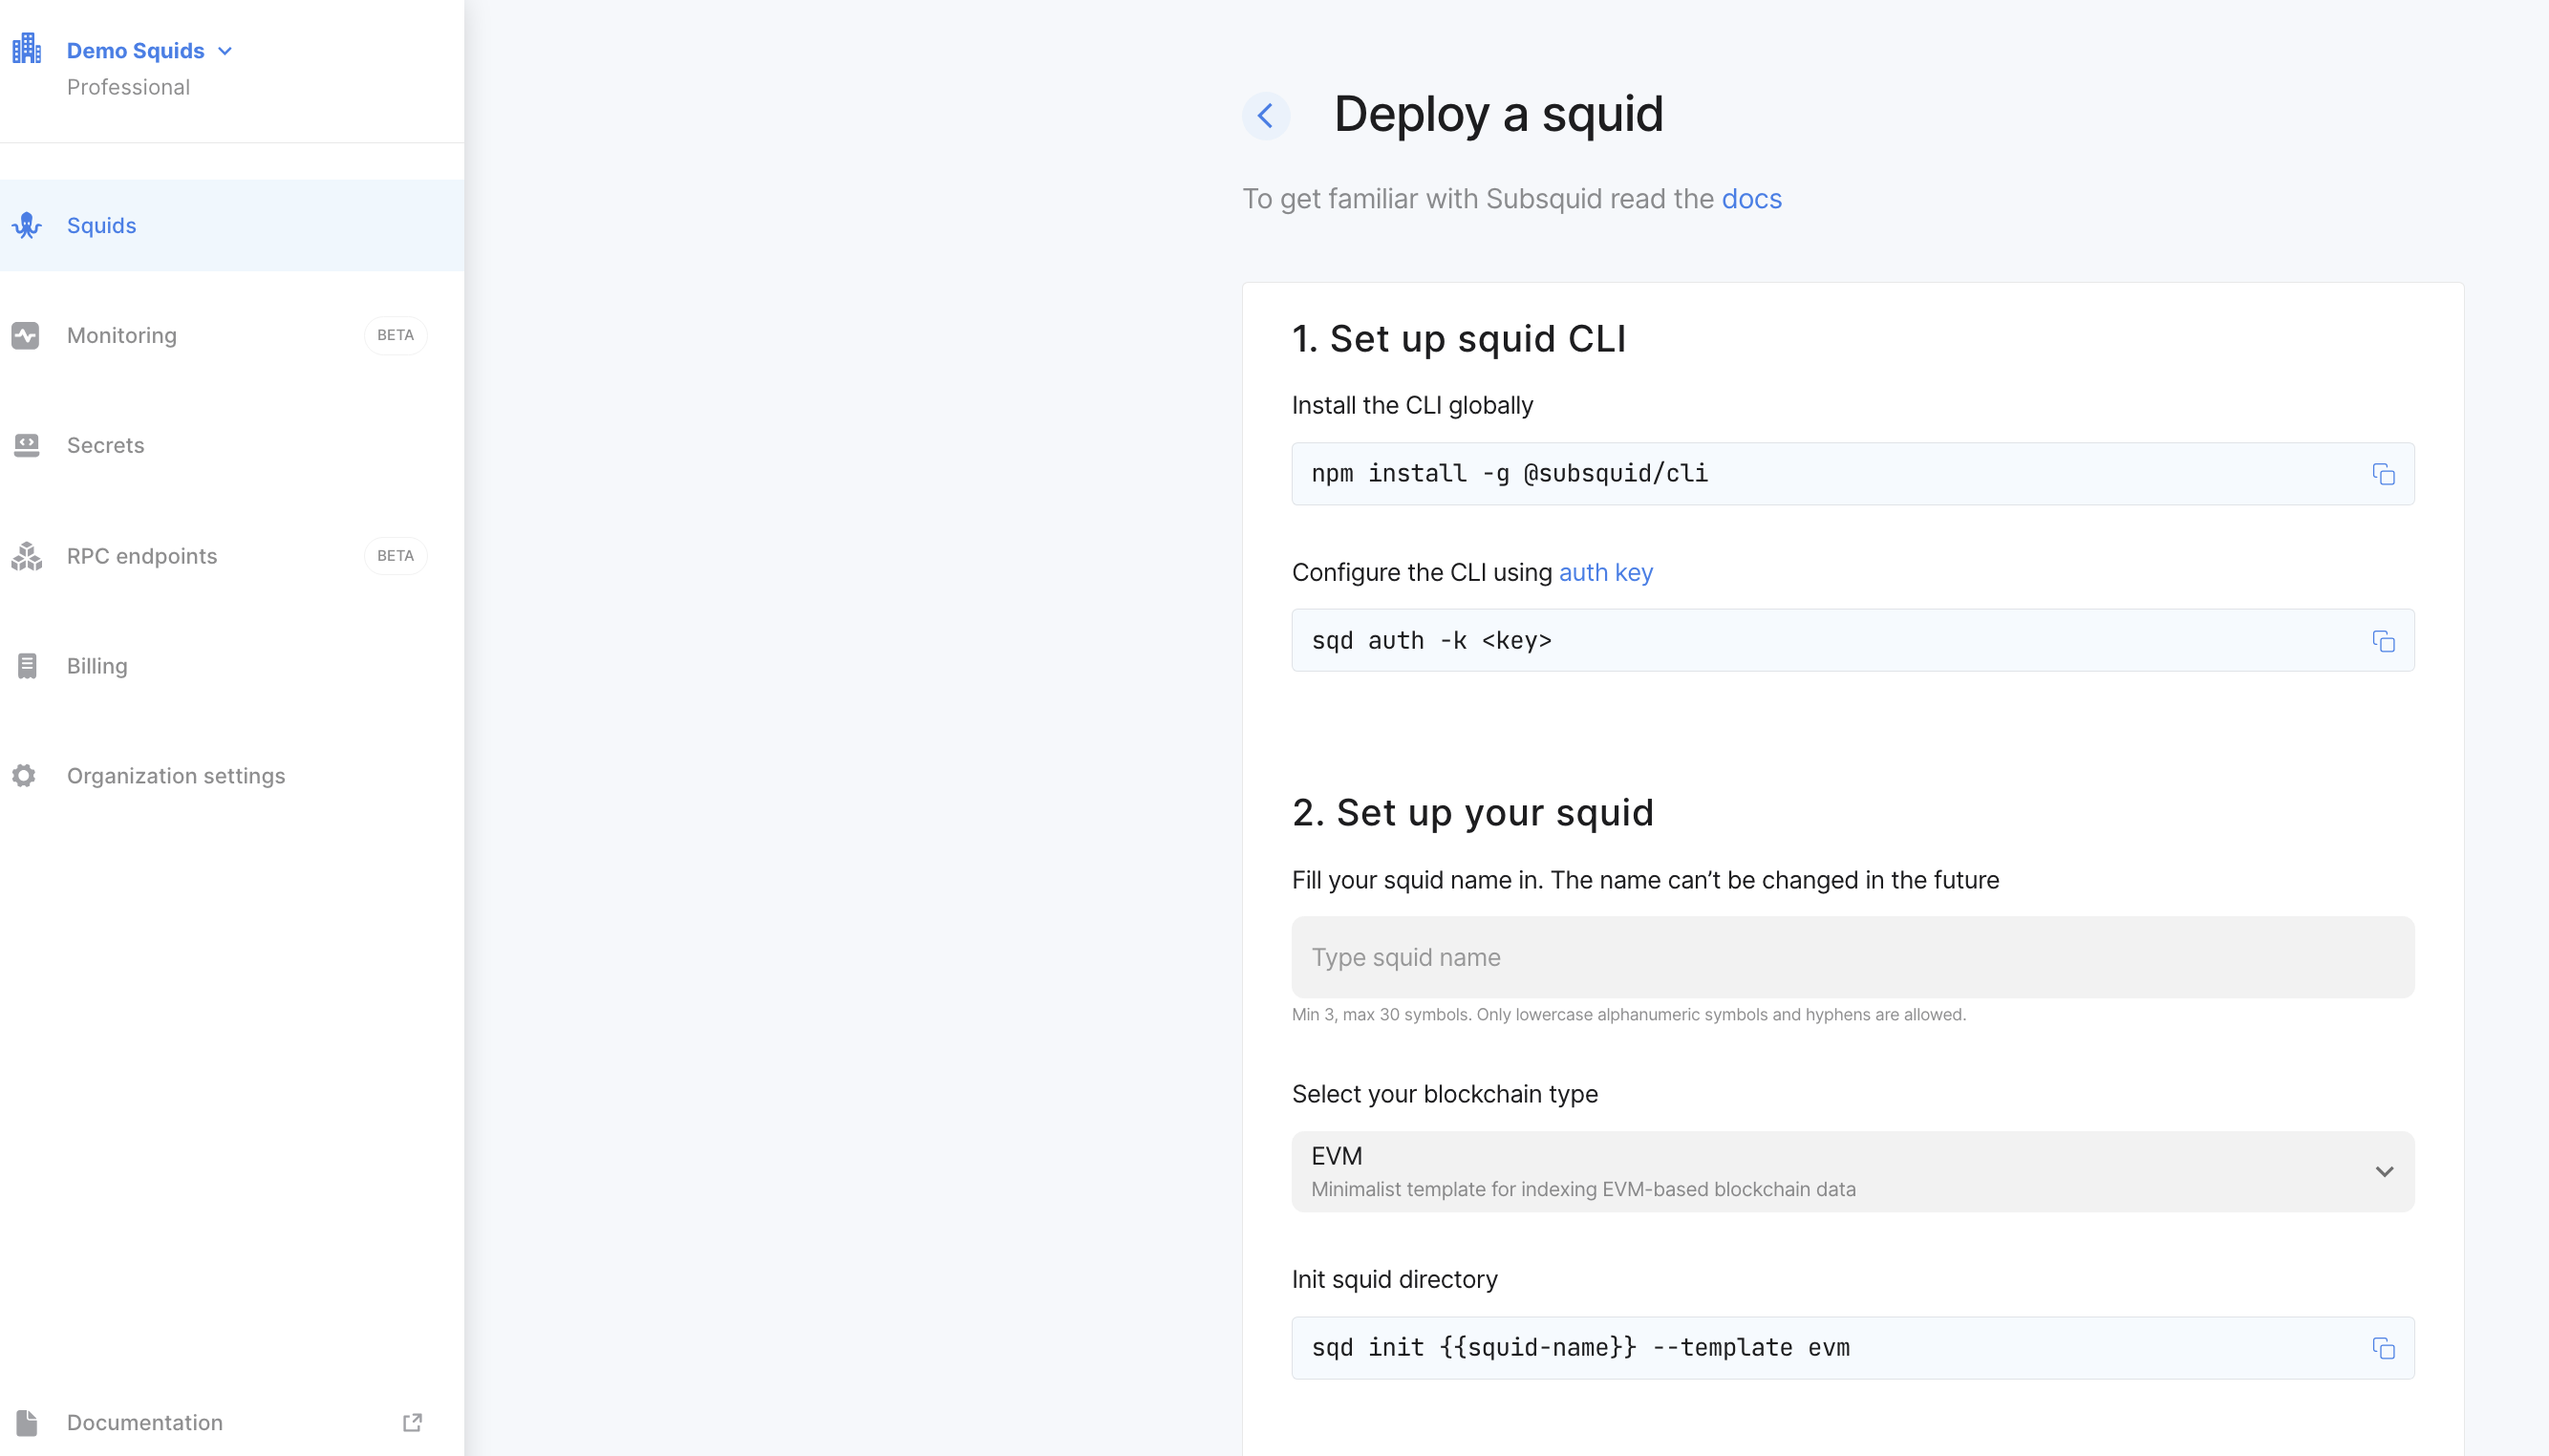
You will be prompted to install the Squid CLI if you haven't already. Follow the instructions to install the CLI.
Next, set up your auth key as shown in the SQD cloud.
Type the squid name to be the same as in the squid.yaml file.
Finally, deploy the squid:
sqd deploy <path_to_squid_project_root>
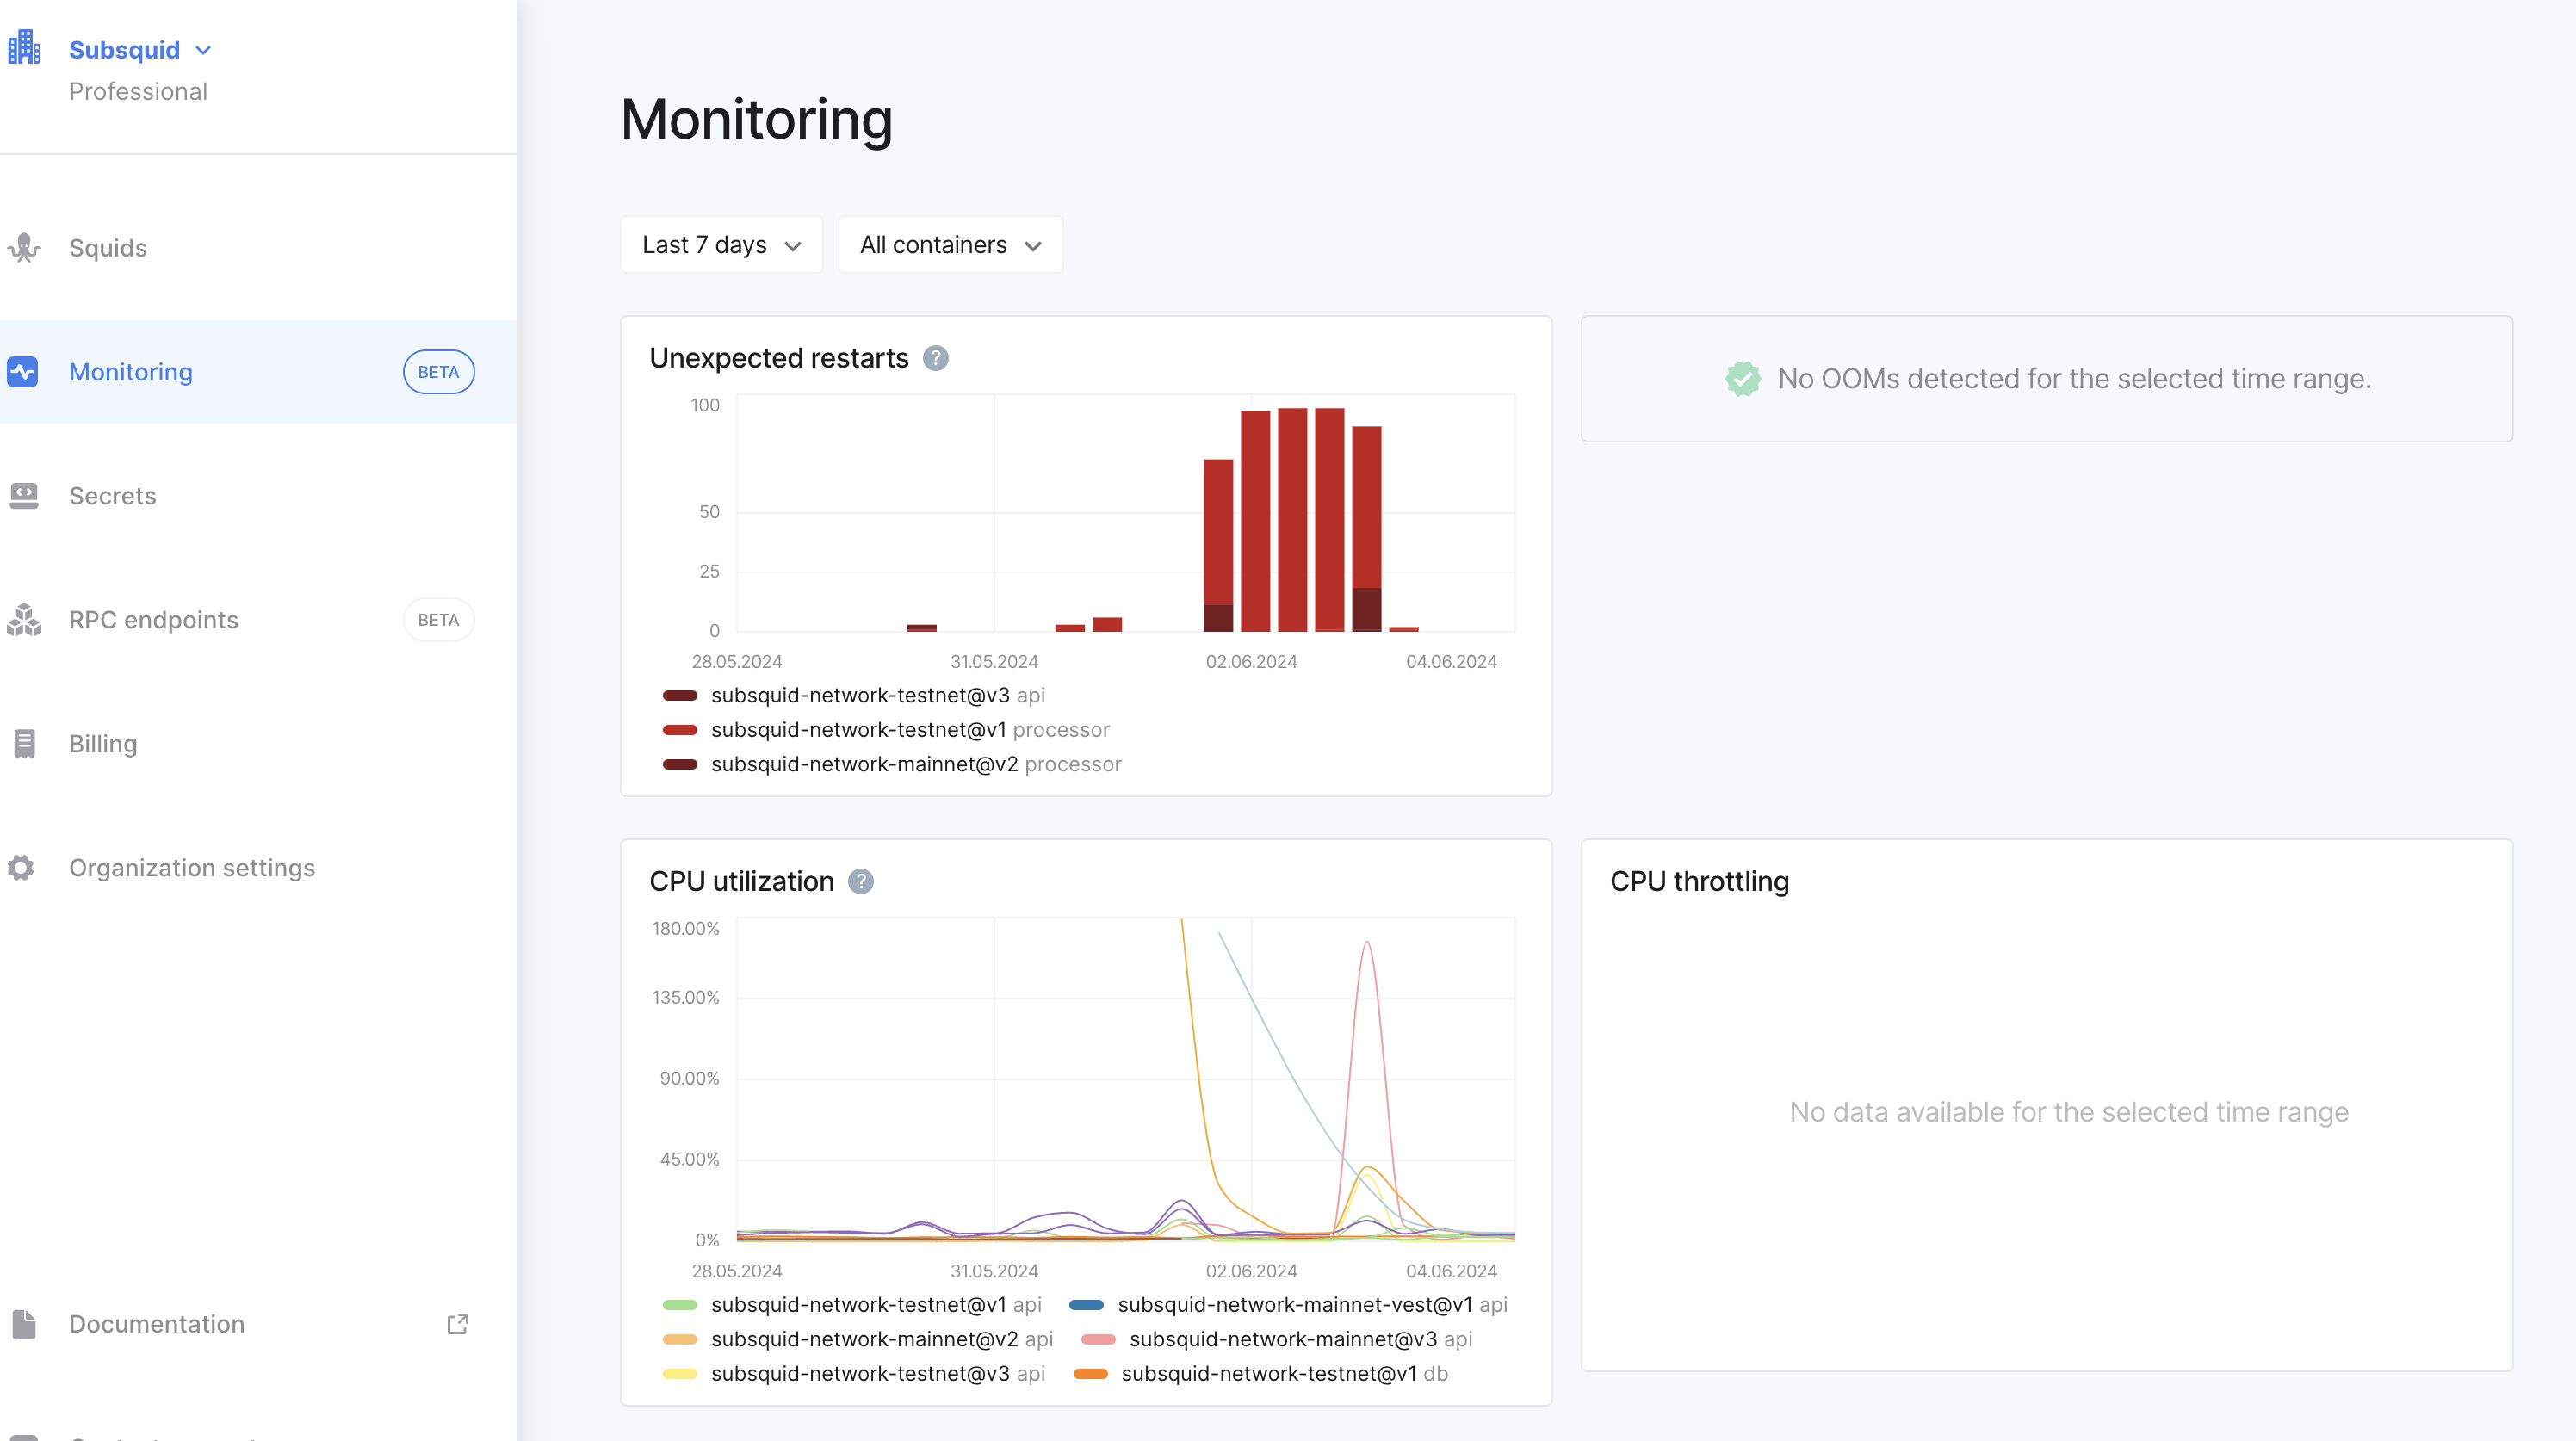
7. Monitor the squid
Take a look at logging page for tips on emitting and reading logs.
After deploying the squid, you can monitor its status in SQD Cloud. You can see the logs, metrics, and other information about the squid in the Cloud dashboard.
Open the monitoring tab in the SQD cloud sidebar to see the status of your squid.
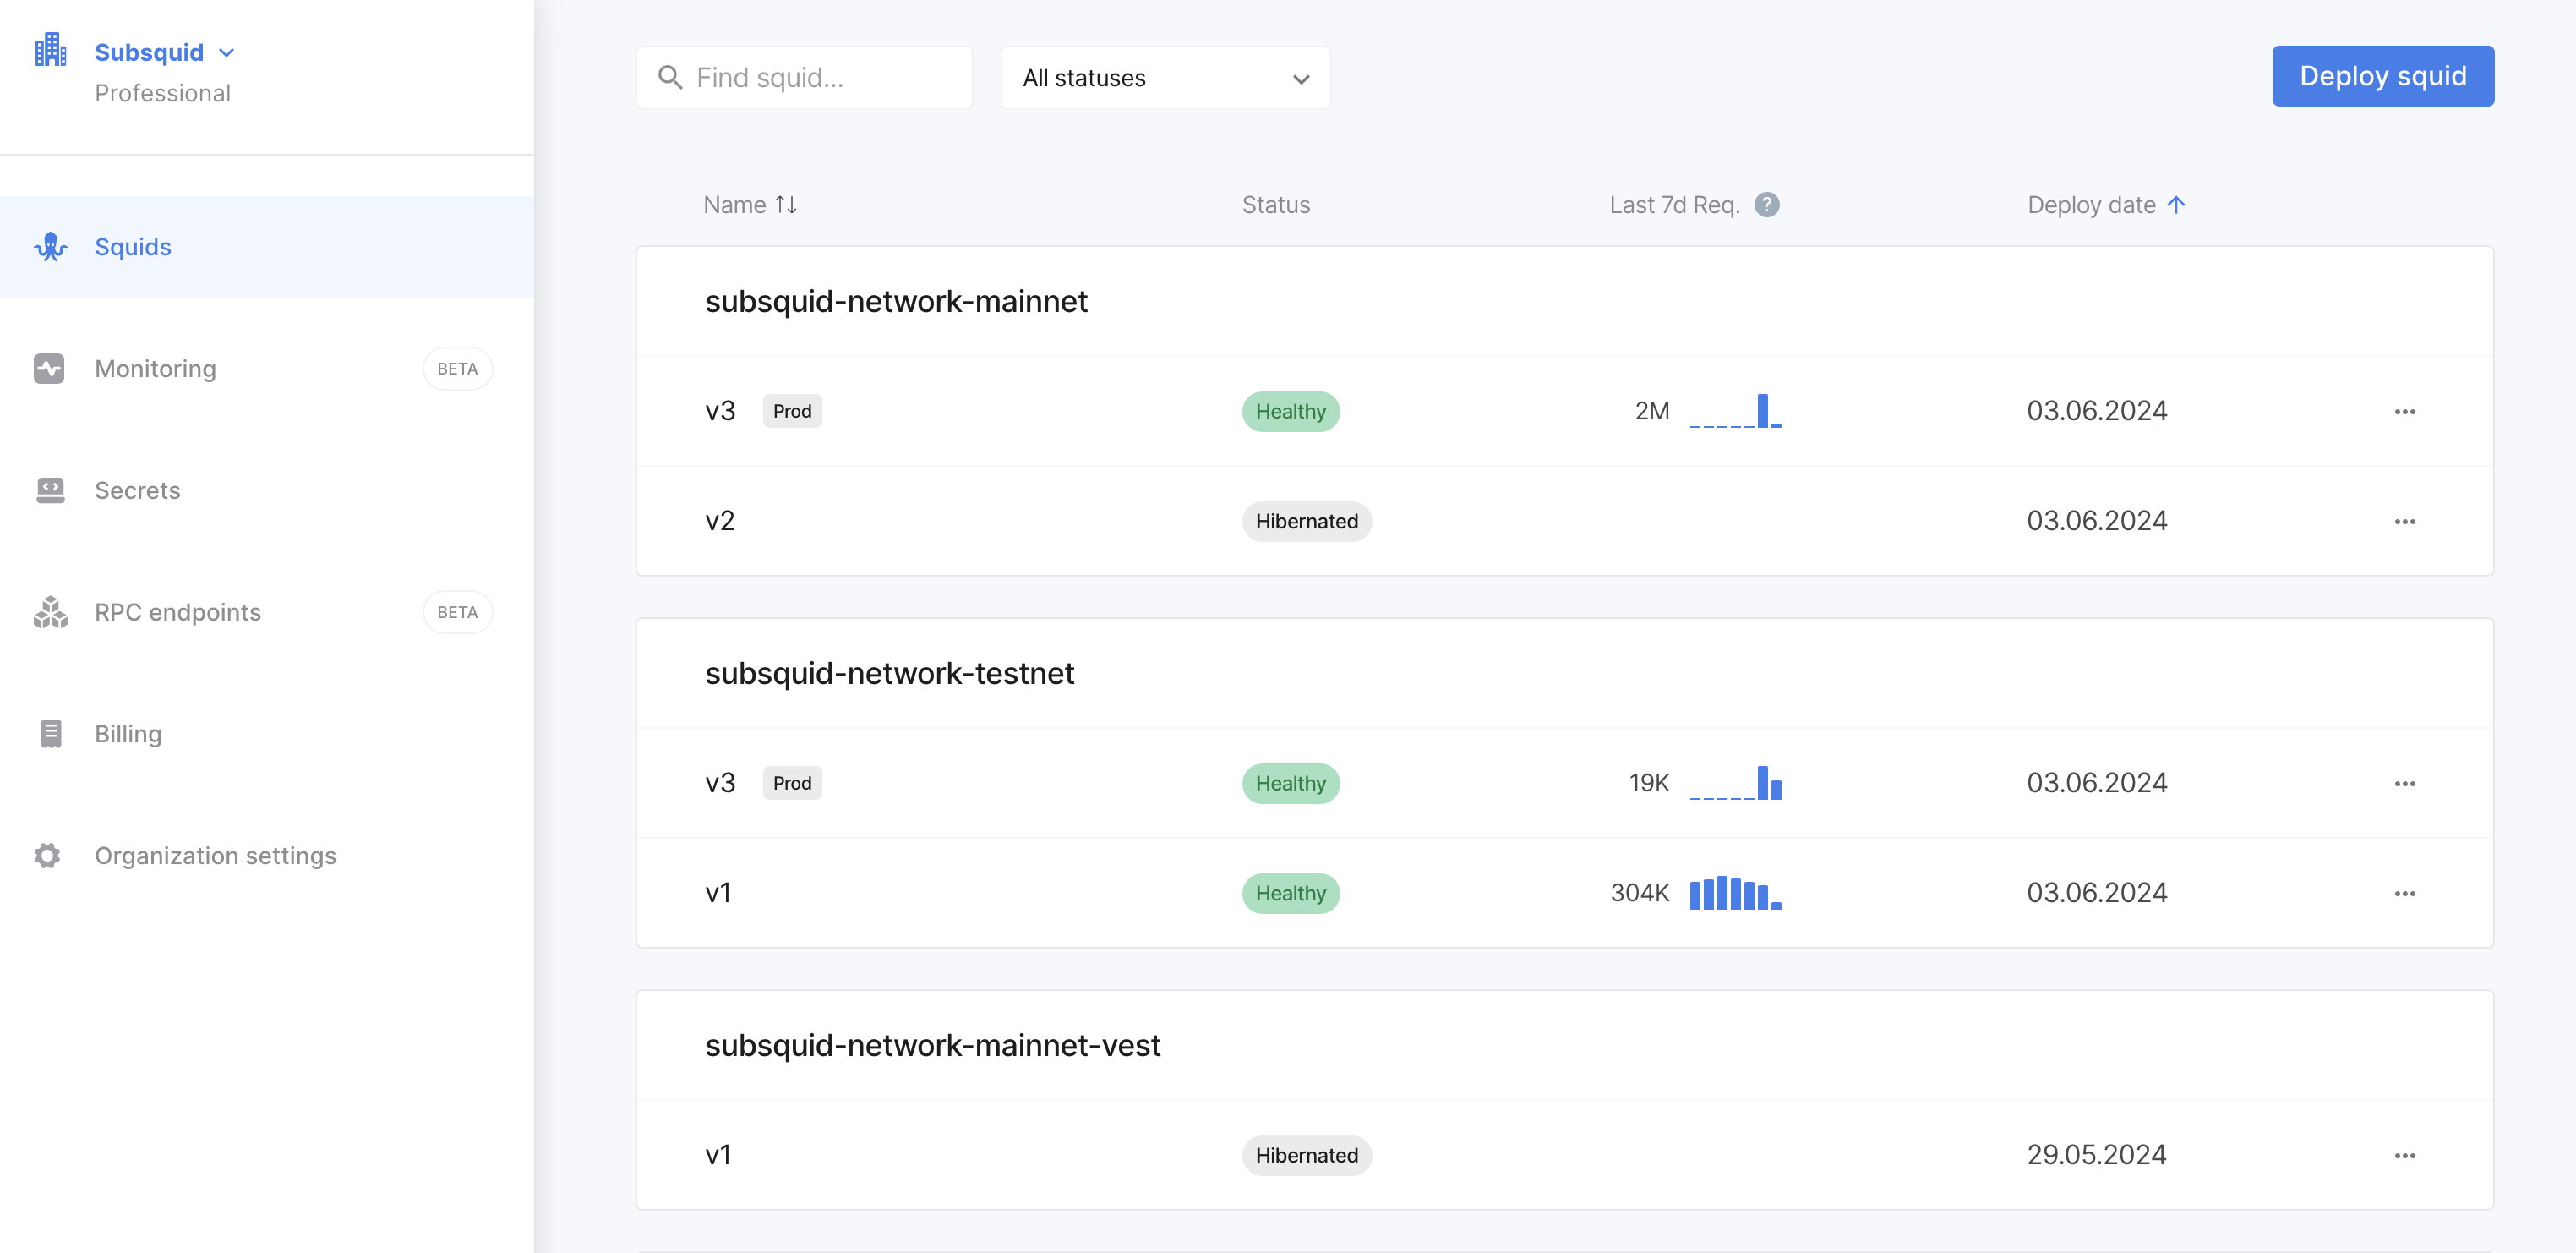
Deployed quids are available in the Squid tab.
You can see memory usage, CPU usage, and other metrics in the monitoring tab. Here is an example of the monitoring tab:
8. Use the squid
If your squid uses a database, you'll have direct access. Take a look at the DB access tab of your squid's card in SQD Cloud console.
Squid deployments are organized with slots and tags. This structure enables a rich variety of workflows, notably including zero downtime updates of squid GraphQL APIs. We recommend that you use this workflow for all production squids.
What's next?
- Take a look at our pricing.
- Learn more about organizations and the slots and tags system.
- Browse the
sqdCLI documentation to learn how to perform common squid maintenance tasks.